How to Program Garage Door Opener After Installation: Complete Guide
How to program garage door opener after installation can seem daunting, but with the right guidance, it’s a straightforward process. Whether you’ve just had a new garage door installed or need to sync your remote or car with the opener, this complete guide will walk you through each step. With a focus on simplicity and clarity, we’ll help you get your garage door opener up and running in no time.
If you’ve recently installed a new garage door, learning how to program your door opener is essential for seamless operation. This guide will cover everything from programming your remotes to syncing your car with your opener, ensuring that your garage door operates smoothly and efficiently.
How to Program Garage Door Opener Remote
Programming your garage door remote to the opener is the first step in getting your garage door up and running. Here’s a step-by-step guide:
1. Locate the Learn Button
The first step is to locate the “Learn” button on the garage door opener. This button is usually found on the back or side of the motor unit. For most brands like LiftMaster and Chamberlain, the button is often a different color, such as red, orange, or purple.
2. Press the Learn Button
Once you’ve located the button, press it. You should see an indicator light, typically next to the button, start to blink or flash. This light indicates that the opener is in programming mode.
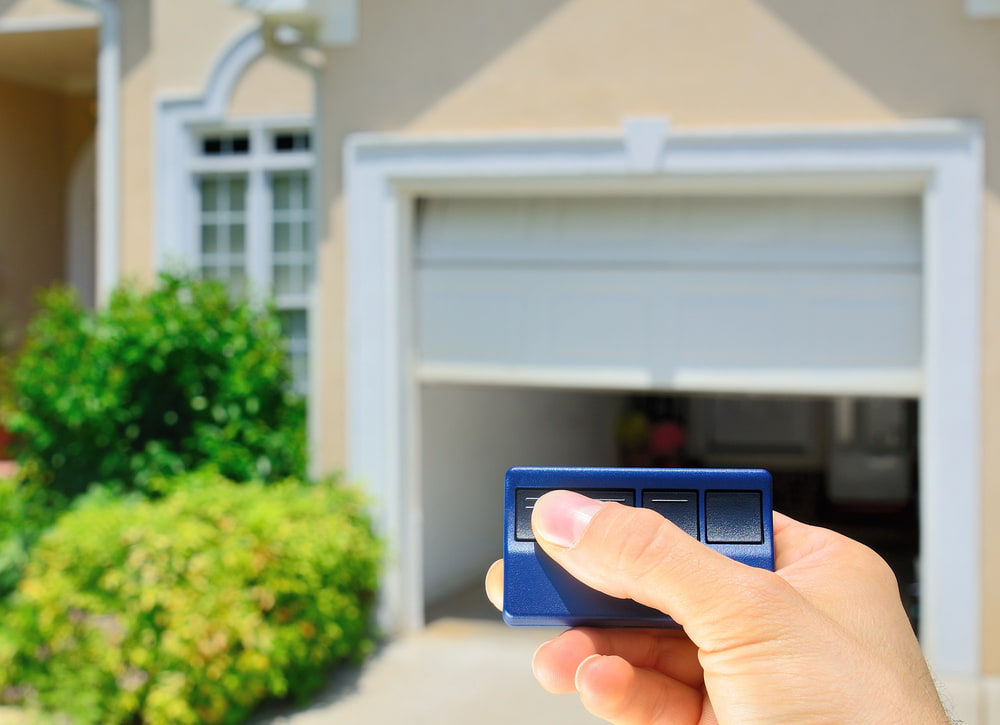
3. Press the Button on Your Garage Door Remote
Now, take your garage door remote and press the main button you use to operate the door. Hold it down until you see the light on the opener blink or flash again. This signals that the remote has successfully connected to the opener.
4. Test the Connection
To ensure everything is working correctly, press the button on your remote again to see if the garage door opens or closes. If it does, congratulations—you’ve successfully programmed your garage door remote!
Can You Program Your Own Garage Door Opener?
Yes, you can absolutely do it on your own door opener. Modern garage door openers, including models from LiftMaster and Chamberlain, are designed with user-friendly interfaces that make programming straightforward. Here’s how you can do it yourself:
1. Prepare Your Opener
Before you start, make sure your garage door opener is installed and plugged in. If you’re using a remote, ensure that the batteries are fresh and the remote keypad is within range of the opener.
2. Use the Learn Switch Button
Just like with the remote, you’ll need to press the button on your overhead garage door opener. This action puts the opener into programming mode, allowing it to sync with your remote or vehicle.
3. Follow the Manufacturer’s Instructions
While the steps are generally similar across brands, always refer to the manufacturer’s instructions for specific details. For example, some LiftMaster and Chamberlain models might require additional steps or settings adjustments.
How to Program A Garage Door Opener to Your New Car
Many modern vehicles come equipped with built-in garage door opener systems, such as HomeLink. Here’s how to program door opener to your new car:
1. Prepare Your Remote and Vehicle
Start by clearing any previous settings on your vehicle’s opener system. Then, press and hold the two outer buttons on your vehicle’s HomeLink system until the indicator light begins to flash.
2. Sync the Remote with the Vehicle
While holding the remote close to your vehicle’s HomeLink buttons, press and hold both the remote button and the desired HomeLink button at the same time. Keep holding until the light on the vehicle’s system changes from a slow to a rapid flash, indicating successful programming.
3. Finalize the Programming with the Learn Button
Finally, go back to the garage door opener and press the learn switch button. Within 30 seconds, return to your vehicle and press the HomeLink button you just programmed. The garage door should respond, confirming that the status is complete.
How to Program Your Garage Door Opener to Your Car Without a Remote
In some cases, you may need to program your garage door opener to your car without using a remote. Here’s how you can do it:
1. Use the Learn Switch Button on the Opener
Start by pressing the button on your overhead door opener. This will put the opener into programming mode, even without a remote.
2. Program Directly from Your Vehicle
Inside your vehicle, press and hold the desired button on the car’s built-in garage door opener system until the garage door begins to move. This indicates that the car’s system has successfully connected with the opener.
Give Us A Call Today
Learning how to program garage door opener after installation is a simple yet crucial step to ensure smooth operation. Whether you’re using a remote, syncing with your car, or operating without a remote, following these steps will get your garage door working efficiently. If you need further assistance or professional help, don’t hesitate to contact Mountain View Doors.
For expert help with garage door installation, repair, or programming, reach out to Mountain View Doors. Our team is here to ensure your garage door operates flawlessly and securely. Contact us today for all your garage door needs!
By following this comprehensive guide, you should have no trouble programming your garage door opener after installation. Whether it’s syncing a remote, connecting to your vehicle, or troubleshooting without a remote, these steps will help you keep your garage secure and functional.